What to Do After Water Damage in Your Grapevine Home

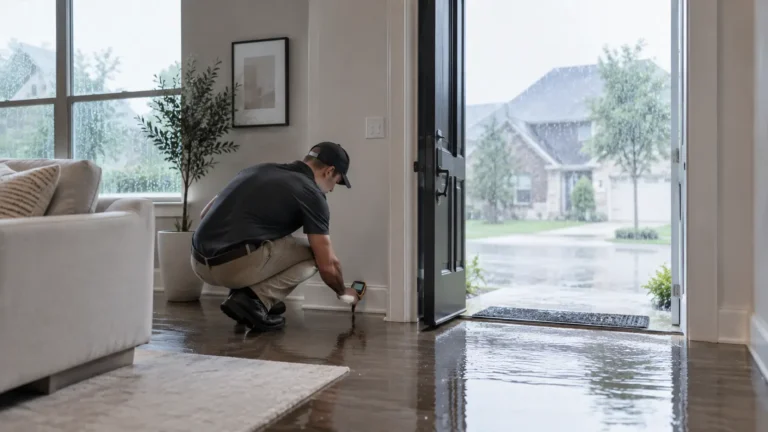
Water damage can spread beyond the area you can see, especially when it reaches flooring, drywall, cabinets, or wall cavities.
What you do next depends on the source. A plumbing leak, roof leak, stormwater intrusion, or sewage backup may require different cleanup steps.
For Grapevine homeowners, storm-related damage may also involve local drainage or floodplain issues, especially after heavy rain. The City of Grapevine provides stormwater and floodplain information for property owners.
This guide explains the right next steps, what you can handle yourself, and when professional help may be needed.
First, Make Sure the Area Is Safe
Before you start moving furniture or cleaning up water, take a quick look for anything that could make the area unsafe.
If water is near outlets, appliances, or electrical wiring, stay out until the power can be shut off safely. The same applies if you see a sagging ceiling, notice sewage or floodwater, or suspect a gas or utility problem.
The CDC advises homeowners not to enter standing water to reach an electrical panel. If the breaker cannot be accessed from a dry, safe location, leave that step to a qualified professional.
Also keep children and pets away from the affected area until you know it is safe.
Once the immediate hazards are ruled out, you can focus on stopping the water and limiting further damage.
Stop the Water Before You Start Cleaning
If the water is still coming in, deal with the source first.
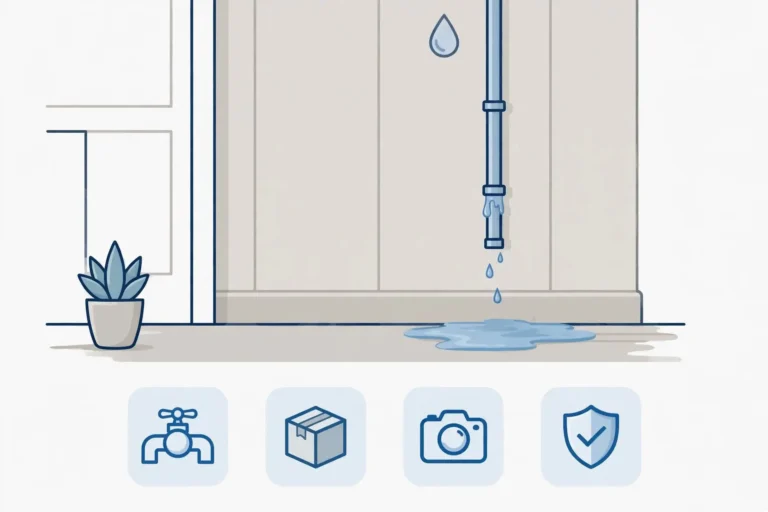
For a plumbing or appliance leak, shut off the nearest valve or the home’s main water supply if you can reach it safely. If the problem is coming from the roof or outside during a storm, focus on limiting further entry without putting yourself at risk.
One important point: stopping the leak does not mean the damage is over.
Water may already have moved under flooring, behind baseboards, into cabinets, or through a ceiling. That is why the next step is to look beyond the obvious wet spot and understand how far the moisture may have traveled.
Figure Out Where the Water Came From
The source tells you a lot about how the cleanup should be handled.
A small supply-line leak is very different from stormwater or a sewage backup. Clean water may be manageable in a limited area, while contaminated water calls for much more caution.
Also pay attention to where the water traveled. A leak that starts in one room can move under flooring, behind drywall, or into a ceiling below.
Before you start drying, make sure you understand two things: what caused the damage and how far the water may have spread.
Document the Damage Before You Start Cleaning Up
Before you start moving furniture, pulling up rugs, or drying the room, take a few minutes to record what you see.
Use your phone to photograph the affected area from a few angles. Capture the likely source of the water, damaged flooring, walls, ceilings, furniture, and anything else that may have been affected.
If you plan to contact your insurance company, note when you first noticed the damage and keep receipts for any temporary repairs or cleanup supplies.
You do not need to document every small detail. The goal is simply to have a clear record of what happened before cleanup changes the scene.
And if something needs immediate attention to stop more damage, handle that first. Documentation should never get in the way of a necessary safety step.
Remove the Water, Then Check What’s Still Wet
Once the source is under control, remove any standing water you can handle safely. For a small clean-water leak, that may be as simple as towels, a mop, or equipment made for wet pickup.
Then look past the obvious puddle.
Water often travels farther than it first appears, especially under flooring, behind baseboards, around cabinets, or into the ceiling below an upstairs leak.
That matters because a room can look dry while moisture is still sitting inside the materials.
If the affected area is large, the water is contaminated, or you cannot tell how far it spread, that is the point where a professional moisture check can be more useful than continuing to dry only what you can see.
Start Drying the Area Properly
Removing standing water solves only part of the problem. You also need to dry the materials around it.
For a small clean-water leak, use airflow and dehumidification to help moisture leave the room. Open affected cabinets and closets so trapped moisture can escape.
Pay close attention to areas you cannot easily see. Water can sit under flooring, behind baseboards, inside drywall, or beneath carpet padding long after the surface looks dry.
Watch for simple warning signs: a damp smell, soft drywall, new stains, or flooring that starts to lift or warp. These signs often mean moisture still remains below the surface.
Decide What You Can Save and What You Should Remove
Some materials handle water better than others.
Tile, metal, glass, and other hard surfaces usually clean up more easily. Porous materials such as drywall, insulation, carpet padding, and some types of flooring can hold moisture deep inside.
Before you throw anything away, look at three things: where the water came from, how wet the material became, and how long it stayed wet.
A lightly damp material from a clean-water leak may dry successfully. A heavily soaked material or anything exposed to sewage or floodwater needs a more cautious approach.
The goal is not to remove everything. It is to keep materials you can dry safely and avoid sealing moisture or contamination inside the home.
Contact Your Insurance Company Before Permanent Repairs
If you plan to file a claim, contact your insurer once you have documented the damage and stopped the immediate problem.
Share your photos, explain what caused the water damage, and keep receipts for any emergency work or temporary repairs.
Avoid replacing flooring, closing walls, or making other permanent repairs until your insurer tells you what they need for the claim.
Coverage often depends on the cause. A burst pipe, a slow leak, and outside floodwater may all fall under different policy rules, so ask your insurer what your specific policy covers.
Know When the Job Has Moved Beyond DIY
A small, clean-water leak may stay manageable. The situation changes when water reaches areas you cannot easily inspect or dry.
Consider calling a restoration professional if:
- Water spreads into several rooms
- Sewage or outdoor floodwater enters the home
- Drywall, insulation, flooring, or cabinets stay wet
- Water reaches a ceiling or wall cavity
- You notice a musty smell after drying
- Flooring starts to cup, swell, or lift
- You cannot tell how far the moisture traveled
A professional assessment should answer a practical question: what still needs drying, cleaning, or removal?
That matters more than simply making the room look dry. If moisture remains inside walls or under flooring, new finishes can hide the problem instead of solving it.
Avoid These Common Mistakes
A few choices can make water damage harder to fix.
- Don’t paint over water stains too soon. Make sure the material has dried first.
- Don’t ignore damp carpet padding or swollen flooring. Moisture can sit underneath even when the surface feels dry.
- Don’t use a regular household vacuum on standing water. Use equipment designed for wet pickup.
- Don’t treat sewage or floodwater like a normal leak. Contaminated water needs a different cleanup approach.
- Don’t rush into permanent repairs. Fix the moisture problem before you replace drywall, flooring, or finishes.
The goal is simple: dry the structure first, then repair what the water damaged.
The City of Grapevine’s Engineering Division responds to resident concerns about stormwater drainage and local waterways. It also provides floodplain and drainage information that can help homeowners understand recurring outdoor water issues.
Don’t Wait for Mold to Show Up
You do not need to see mold before moisture becomes a problem. The better approach is to dry wet materials as soon as you can and fix whatever caused the water in the first place.
EPA guidance recommends drying wet or damp materials within 24–48 hours where possible to reduce the chance of mold growth.
If you notice a musty smell, recurring dampness, or visible growth after cleanup, look for the moisture source instead of simply cleaning the surface again.
And if mold has already spread across porous materials such as drywall, carpet, or ceiling tiles, those materials may need more than surface cleaning.
Use This Simple Water-Damage Checklist
If you discover water damage in your home, work through these steps in order:
- Check for electrical, structural, or contamination risks.
- Stop the water source if you can do it safely.
- Document the damage with photos and videos.
- Remove standing water only if the area is safe.
- Dry the affected materials, not just the visible surface.
- Check for hidden moisture under floors, behind walls, and around cabinets.
- Contact your insurer before permanent repairs if you plan to file a claim.
- Bring in professional help if the water spread widely, involved sewage or flooding, or reached areas you cannot inspect.
This order helps you deal with the immediate problem first without overlooking moisture that can cause trouble later.
FAQ’s
How quickly should I start drying after water damage?
Start as soon as the area is safe and the water source is under control. The longer materials stay wet, the harder they become to dry and the greater the chance of mold or material damage.
Can I handle water damage myself?
For a small, clean-water leak that stayed in one accessible area, you may be able to handle the cleanup yourself. If water reaches walls, flooring, ceilings, several rooms, or involves sewage or flooding, get professional help.
How do I know if water got behind the walls?
Look for soft drywall, peeling paint, stains, swollen baseboards, or a musty smell. These signs do not show the full extent of the moisture, so you may need a moisture check when the source or spread remains unclear.
Should I call my insurance company right away?
If you plan to file a claim, contact your insurer after you document the damage and take any necessary steps to prevent it from getting worse. Keep photos, receipts, and notes about what happened.
What if stormwater caused the damage?
Stop additional water entry if you can do so safely, document the damage, and check whether drainage around your property contributed to the problem. If outside flooding caused the loss, check your flood coverage separately from your standard homeowners policy.
Need Help With Water Damage in Grapevine?
If you’re not sure how far the water has spread, what materials are still wet, or whether the area has dried properly, we can help.
Our water damage restoration team can assess the affected area, check for hidden moisture, and help determine the right next step before repairs begin.
Not sure what to do next? Call us for professional water damage help in Grapevine.